
Getting Started
Here is our 3 step process to building your new website.
Ready to begin? Complete our questionnaire to get started.
1) BEFORE WE BEGIN
There are a few things we need before we can begin your project.
- A completed questionnaire – this tells us more about what you plan to do with your website and marketing.
- We will call to arrange a brief discussion about your requirements
- A deposit of at least 50% (for marketing projects we often require full payment in advance)
- Your logo and branding (PDF or a high res PNG please)
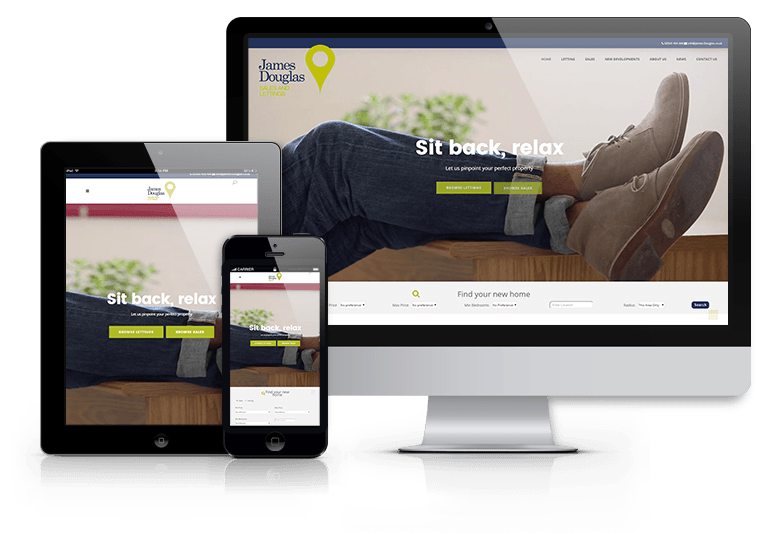
- Any photos you want to use. Please ensure these are high resolution and ideally in landscape orientation.
- Log in details for any third-party sites you want to include (such as MailChimp, TrustPilot, booking systems etc).
All of the above (apart from the deposit) can be loaded to the DropBox folder we will set up for you. Only once we have all of these items we will schedule the work to begin.
2) DROPBOX
If you’re not familiar with Dropbox, it’s a great tool for sharing files and for us it eliminates the need for multiple emails with files and content for your site saving time and also the risk of anything going missing.
We will set up a dedicated folder for you to use. Please use this to upload all your content, photos, logos and anything else that you want to include in your site. You are welcome to share this folder with others such as graphic designers who might want to load up your logo on your behalf.
3) BUILD PROCESS
We know that for many of our clients we are building their first website so it can be a confusing and frustrating process if you’ve never done it before.
Here we set out the rough schedule of work and what you can expect at each step.
STEP 1 – SET UP
The first thing we do is make sure we have all the files we need. Once that’s confirmed, we will set up the hosting and install WordPress and the Divi theme. During the build process we will use a temporary URL so that your current site isn’t disturbed. We will send you the temporary URL after step 2 is complete.
STEP 2 – BUILD
With the hosting set up and WordPress installed, we begin the process of adding all the content – starting with the home page. We work with your content to lay it out in a way that your site users will respond to making sure that every page has a clear call-to-action.
STEP 3 – REVIEW
Once the content has been added and we’re working through the layouts of each page we will send you the temporary URL so you can start to see the progress. With the content added you can then review the site and request changes. At this stage we will add in any third party apps you’ve requested.
STEP 4 – LIVE
As soon as you’re happy with the site we will make it live. That requires changing your domain name so that it points to the new site. We then run through the site once more to make sure all the images, links and menu items work correctly.
ARE YOU READY TO BEGIN?
Getting started is really easy. You can either schedule a free marketing consultation or complete our questionnaire.
Since 2004 we have build and worked on hundreds of websites so you can be sure that when you work with Lobster you will benefit from a great deal of experience and you’re in safe hands.